“What UX tools should I learn so that I can build my portfolio?” “How do I learn UX tools?” We get these questions a lot here at the Interaction Design Foundation. If you’re starting out in UX, you might have these burning questions, too. So, here, we’ll go through everything you need to know about UX tools and how to learn them.
Buckle up—it’s going to be a fun ride!
What UX Tools Do You Need for Your Portfolio?
Well, it depends. We’re sorry, but there’s no one-size-fits-all answer. What tools you’ll need depend on what role you’ll apply for with your portfolio.
For instance, if you want to be a user researcher, you should focus on conducting user testing, interviewing users and presenting your findings. You can do these tasks effectively without any “UX tools”, although there might be a few tools that’ll help you. On the other hand, if you want to be a generalist UX designer, you might need to do wireframing and create high-fidelity prototypes, and you will likely need specialized prototyping tools.
In fact, if you’re thinking about which UX tools you need for your portfolio, you’re asking the wrong question. You might have gotten a hint of this based on the way we answered the question. You see, the UX tool you “need” to use depends on what you need to do in the first place.
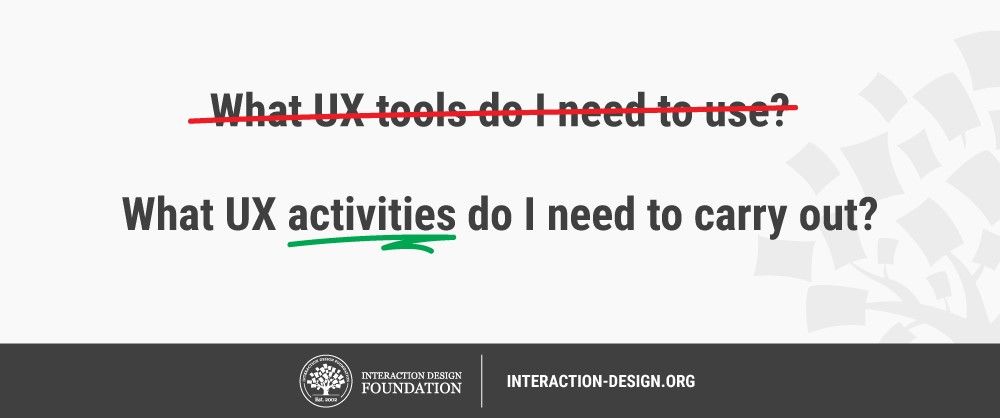
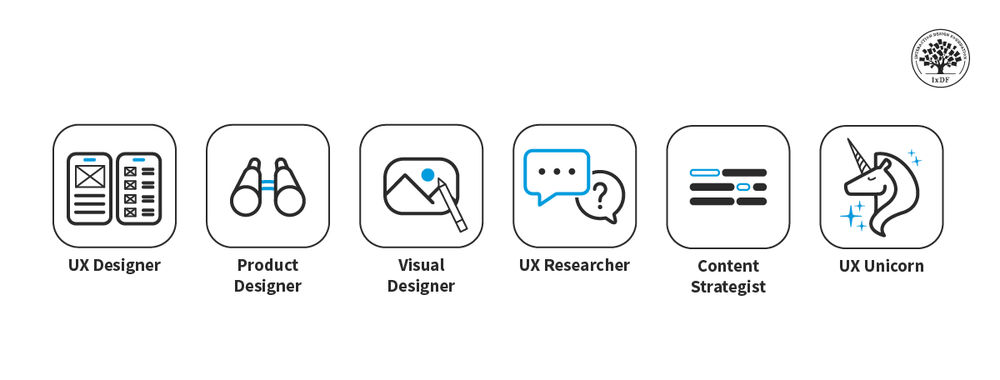
Asking the right questions will help you become a great UX designer. Author / copyright holder: Teo Yu Siang and the Interaction Design Foundation. Copyright terms and license: CC BY-NC-SA 3.0
In other words, you should ask yourself what UX activities you need to do instead of what UX tools you need. Tools are merely, well, tools that help you achieve what you want to produce. Asking about tools first is putting the cart in front of the horse—you’ll fall for the hype of the latest tools and lose sight of what you’re supposed to do as a UX designer in the first place.
So, Which Tools Should You Use?
If you’ve already carefully considered what you want to achieve, here are some tools (or more like resources) we recommend for different UX tasks.
To help you, we’ve sorted the tools into main UX tasks and structured each tool to show you its price, features and drawbacks.
We don’t earn a penny from our recommendations and try to be as objective as humanly possible. However, there are too many tools to cover below. You should do additional research to find if there are other tools that fit your specific needs. Some tools also offer student discounts, so you should find out more on their websites.
Questionnaire Tools
When you want to conduct quantitative user research, get feedback from customers or implement a screener to select interview participants, you’ll need some form of questionnaire tool. We recommend:
Google Forms
Google’s Forms is free but powerful enough for most user research purposes.
Website: https://www.google.com/forms/about/
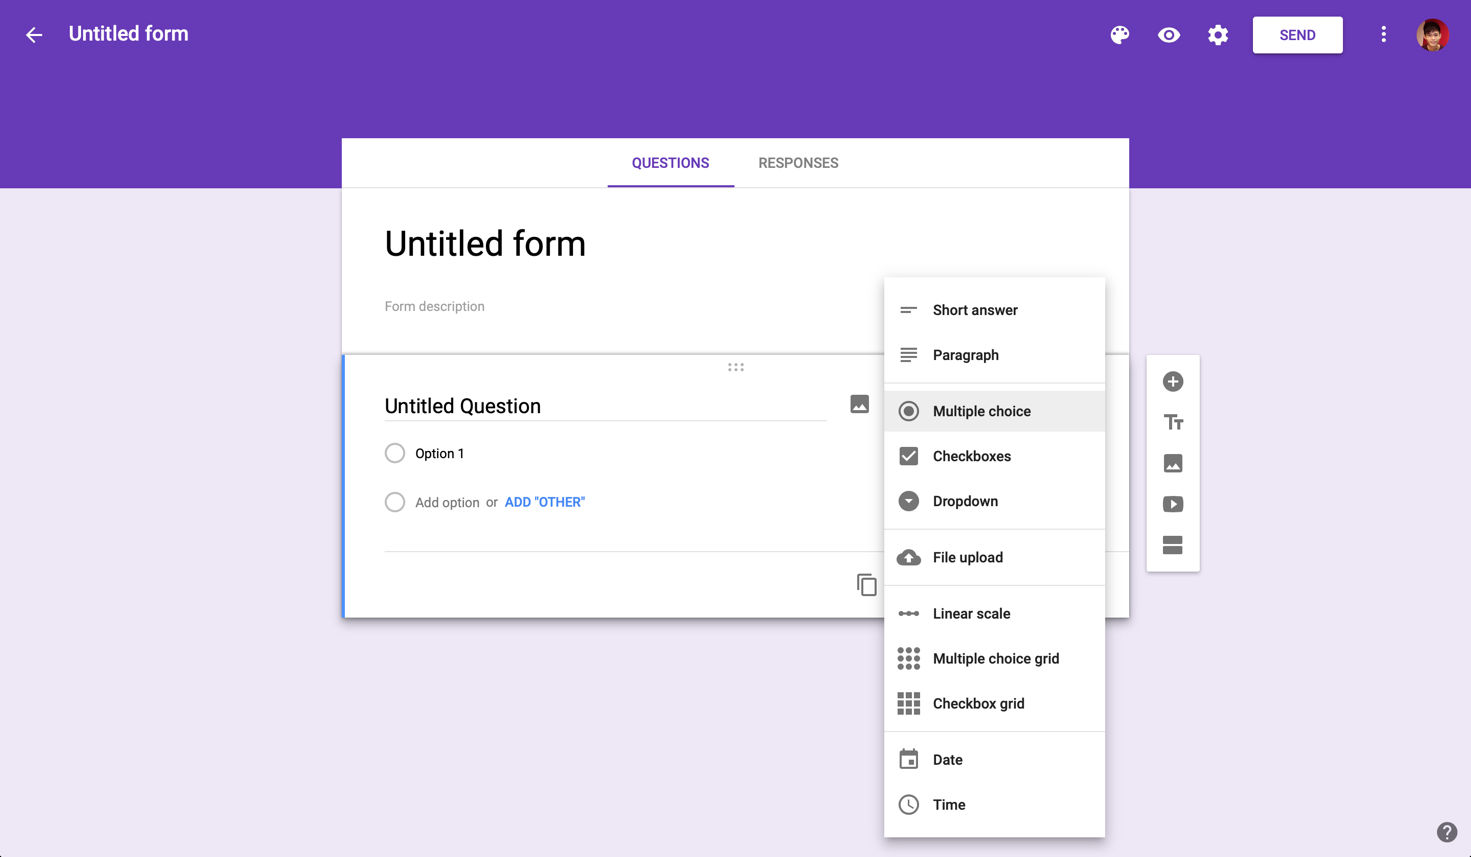
Google’s free Forms tool is versatile and powerful, with many question types for you to choose from. Author / copyright holder: Google. Copyright terms and license: Fair Use.
Price
Free!
Features
Access a wide range of question types, from multiple choice questions, short answer questions, to paragraph and linear scale ones.
Advanced logic: you can split and branch your survey into pages and jump to questions based on responses.
Analyze your results in Forms or export them to Sheets for further analysis.
Collaborative: you can invite team members to edit and view results.
Drawbacks
Not much, considering it’s free!
It looks decent, but not beautiful.
Typeform
A relative newcomer in the survey industry, Typeform has made waves with incredibly beautiful design that enhances the user experience of filling out a questionnaire.
Website: https://www.typeform.com/surveys/
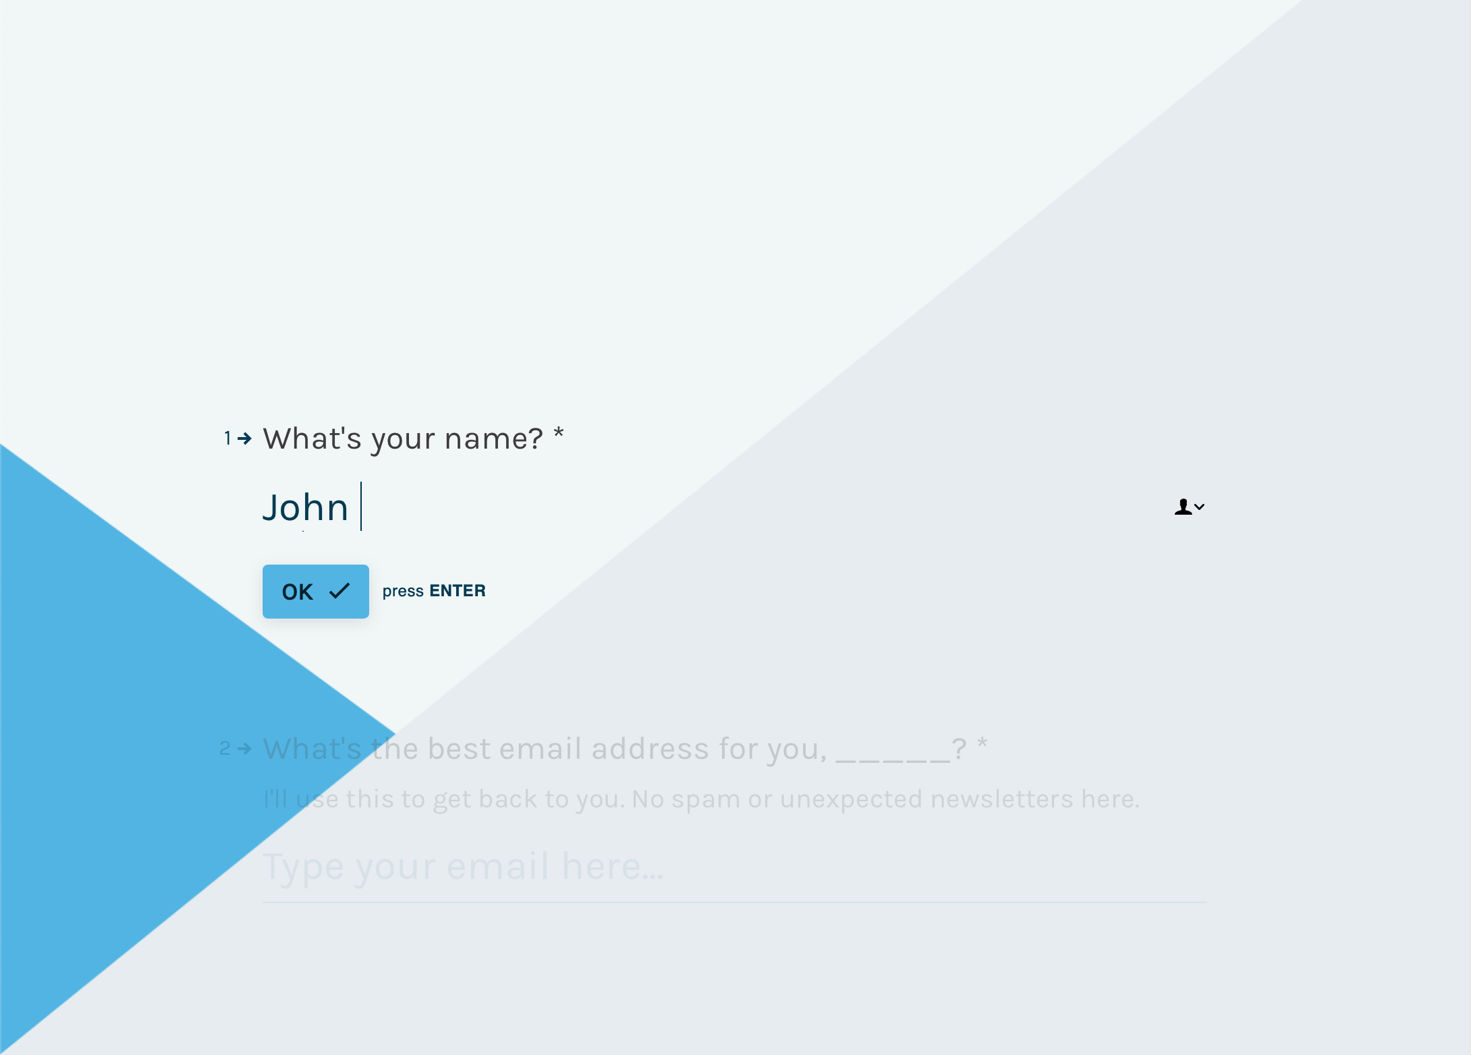
Typeform focuses on one question at a time and is keyboard-friendly and beautifully designed. Author / copyright holder: Typeform. Copyright terms and license: Fair Use.
Price
Free: 3 forms, 10 questions per form, 100 responses per month.
35–70 USD / month: pro versions with advanced features.
Features (free version)
Create beautifully designed forms, which might help increase the completion rate.
Access a wide range of question types.
Get metrics and analytics of your survey responses.
Export your responses to Google Sheets.
Drawbacks
With the free tier, you cannot use logic in your survey (e.g., question jumping based on responses), which is a big drawback because you’ll find it difficult to ask follow-up questions based on responses.
No collaboration features on the free tier.
SurveyMonkey
SurveyMonkey is one of the most popular survey tools, and for good reason.
Website: https://www.surveymonkey.com/
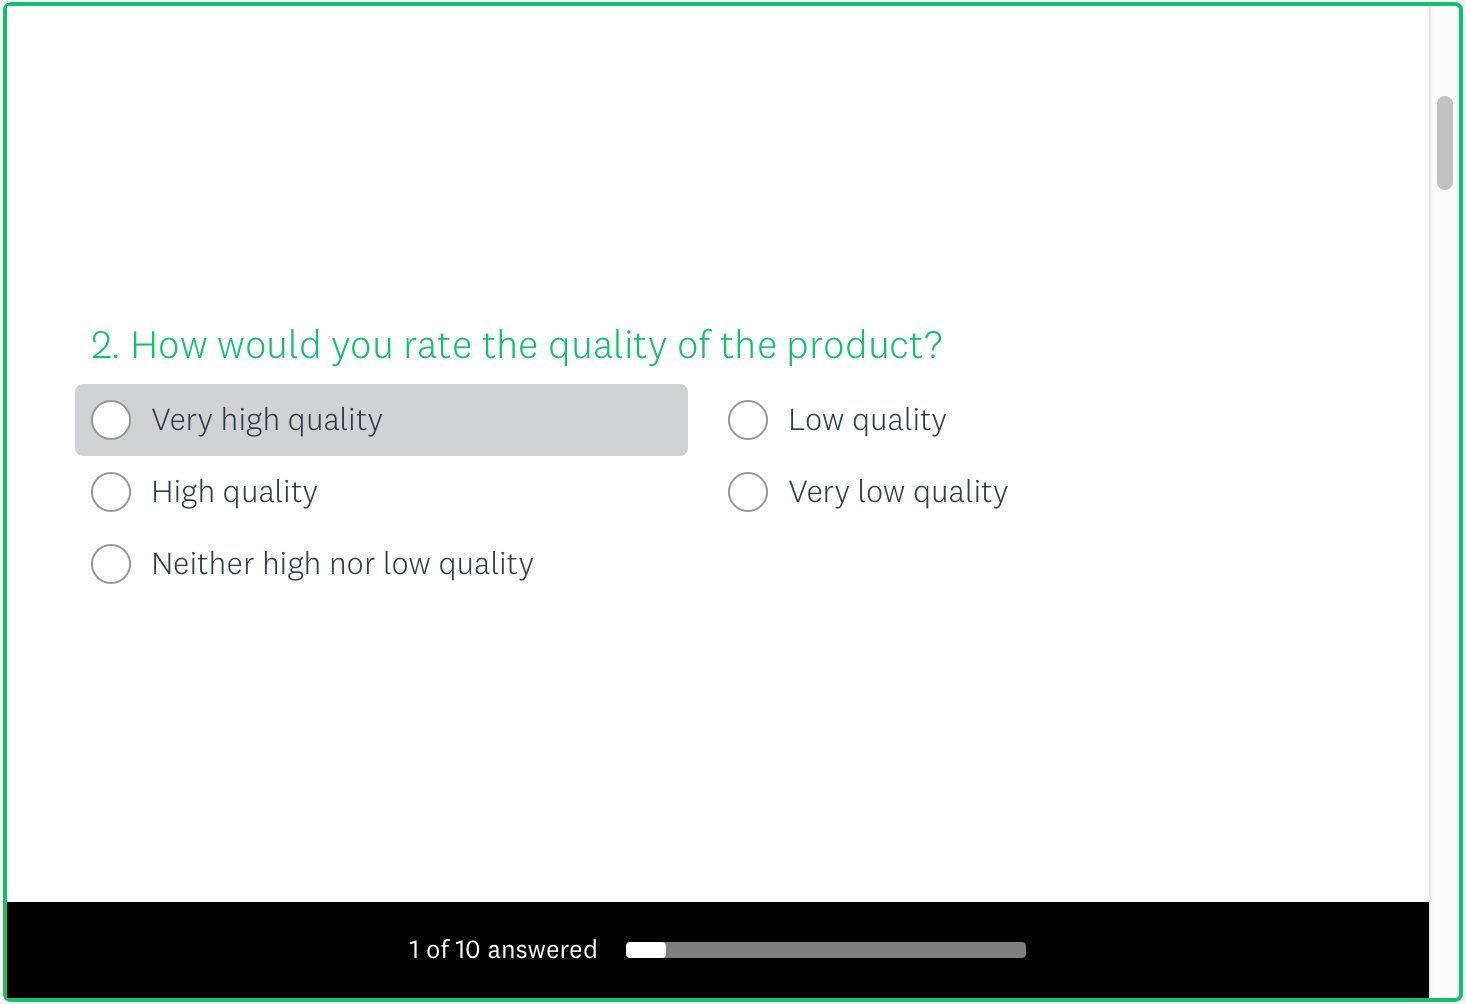
SurveyMonkey’s forms are elegant, with an updated design inspired by Typeform. Author / copyright holder: SurveyMonkey. Copyright terms and license: Fair Use.
Price
Free: 10 questions and 100 responses per form.
37–99 USD / month: unlimited questions and responses, and other advanced features.
Features (free version)
Create user-friendly and well-designed forms.
Get metrics and analytics of your responses.
Access a wide range of question types.
Survey templates: 40 short survey templates you can use to quickly set up your survey.
Drawbacks
You cannot export responses in the free version, which is a big drawback.
No logic (question jumping based on responses) in the free version—another big drawback.
No collaboration features on the free tier.
Flowcharting Tools
When you’re sorting through ideas or data, mapping out user flows or generating site maps, you might need flowchart tools to speed up your workflow. Here are some great tools you can use:
LucidChart
LucidChart is a popular flowcharting app, in part because the free version is feature-rich and great for freelancers or junior designers.
Website: https://www.lucidchart.com/
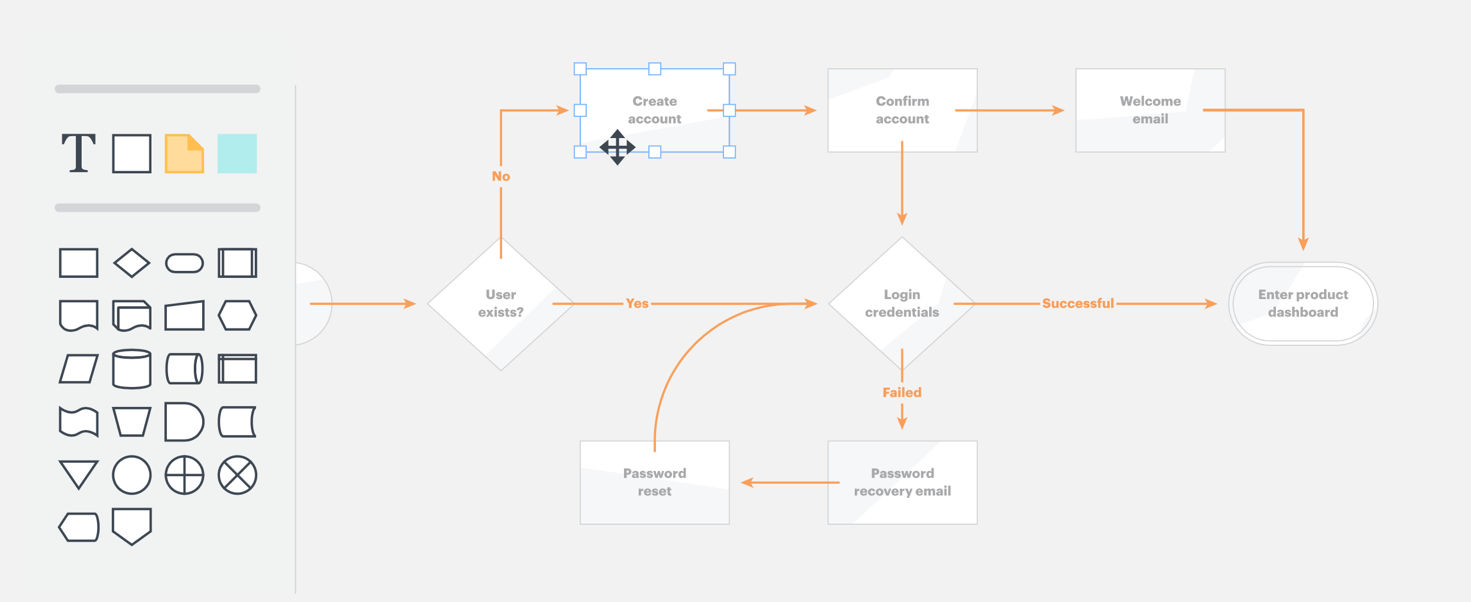
LucidChart has an intuitive drag-and-drop interface. Author / copyright holder: LucidChart. Copyright terms and license: Fair Use.
Price
Free: for personal use, up to 60 objects in a document.
4.95–20 USD / month: with unlimited objects and advanced features.
Features (free version)
Create flowcharts with a drag-and-drop interface that’s easy to use.
Web-based, so you can use it on any operating system.
Real-time collaboration.
Drawbacks
The free version limits you to create and view charts with up to 60 objects.
Web-based, so you need access to the internet to use it.
Microsoft Visio
Microsoft’s flowcharting tool is feature-rich and has a familiar UI if you’ve used the Office Online suite of tools.
Website: https://products.office.com/en-us/visio/flowchart-software
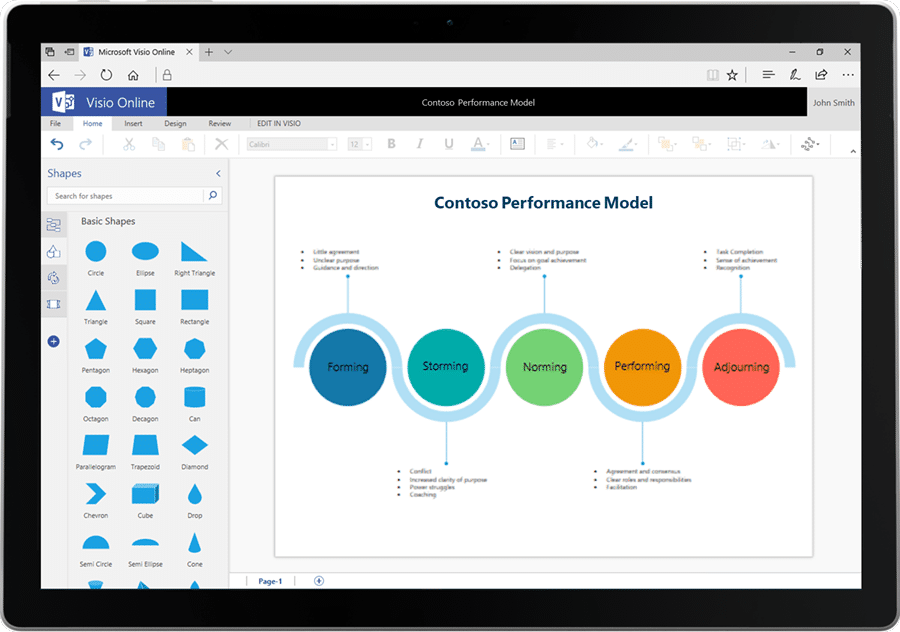
Microsoft Visio has a similar UI to the Microsoft Office suite of apps, which means you probably don’t have to learn to use it. Author / copyright holder: Microsoft. Copyright terms and license: Fair Use.
Price
5 USD / month (yearly plan) for basic online version.
15 USD / month (yearly plan) for desktop app and Office 365.
250 USD for Visio Standard 2019 desktop app.
480 USD for Visio Professional 2019 desktop app.
Features
Create flowcharts with a drag-and-drop interface that’s easy to use.
Similar UI to Microsoft Office, so you might not have any learning curve.
Share your charts online via a link, as an attachment, image or PDF.
Drawbacks
Expensive and hard to justify just for creating flowcharts.
Runs on Windows only.
The cheapest tier has no real-time collaboration and Office 365.
OmniGraffle
While it’s frequently used as a wireframing tool, the macOS app OmniGraffle also has some powerful flowcharting features that you can use.
Website: https://www.omnigroup.com/omnigraffle/
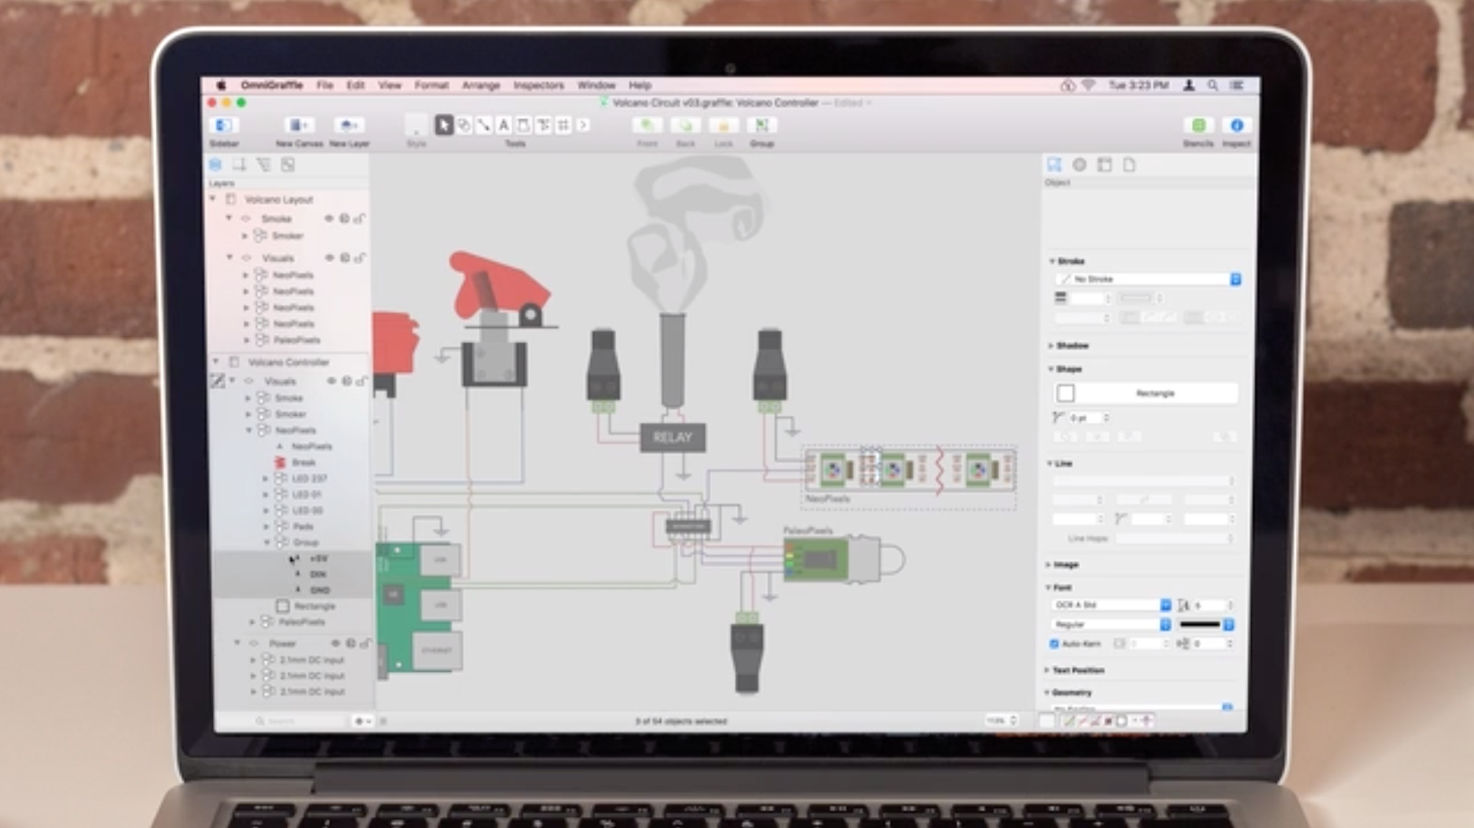
Creating advanced flowcharts is easy in OmniGraffle, as shown in this screencap of their video. Author / copyright holder: OmniGroup. Copyright terms and license: Fair Use.
Price
99.99 USD for Standard app.
199.99 USD for Pro app.
Features
Create flowcharts with a drag-and-drop interface that’s easy to use.
Export flowcharts to multiple formats such as PDF and SVG.
You can also use it to create wireframes and even high-fidelity prototypes.
Desktop app, so you can use it offline.
Drawbacks
Expensive if you use it just for flowcharting.
No collaboration features.
Runs on macOS only.
Low-Fidelity Prototyping / Wireframing Tools
In the early stages of your design process, you’ll want to create quick-and-dirty prototypes to test them with users. While you can do that perfectly with a pencil and paper, these tools might help you work faster. Plus, you can easily undo and make quick changes.
Marvel
While Marvel can be used to create high-fidelity, pixel-perfect prototypes, it shines as a rapid wireframing tool with support for interactivity and animations.
Website: https://marvelapp.com/
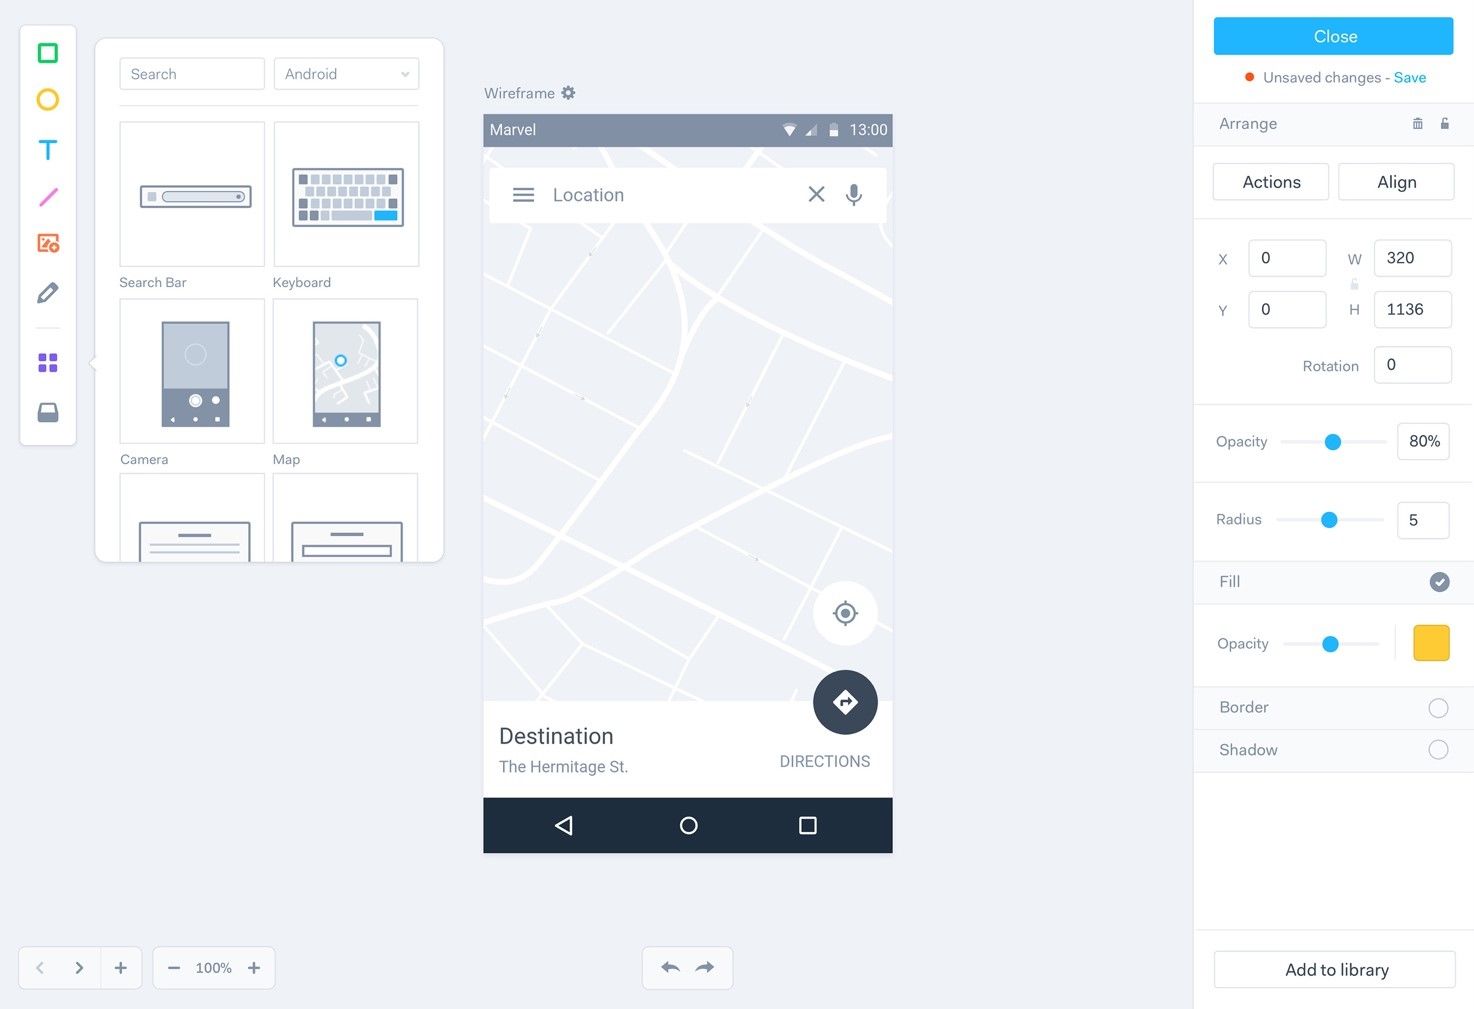
Marvel’s quick drag-and-drop UI template interface allows you to create wireframes rapidly. Author / copyright holder: Marvel. Copyright terms and license: Fair Use.
Price
Free: 1 user, 2 projects.
12–84 USD / month: unlimited projects and advanced features.
Features
Create wireframes with a simple drag-and-drop interface, and use UI templates for different devices and operating systems.
Web-based, so you can use it on any operating system.
Add interactions and animations to your wireframes for more realistic user testing.
Your team members and/or clients can add comments to the designs.
You can also use it to create high-fidelity prototypes.
Drawbacks
Web-based, so you need access to the internet to use it.
Balsamiq
Balsamiq is one of the earliest rapid prototyping tools and has remained relevant today because of its razor-sharp focus on creating wireframes quickly.
Website: https://balsamiq.com/
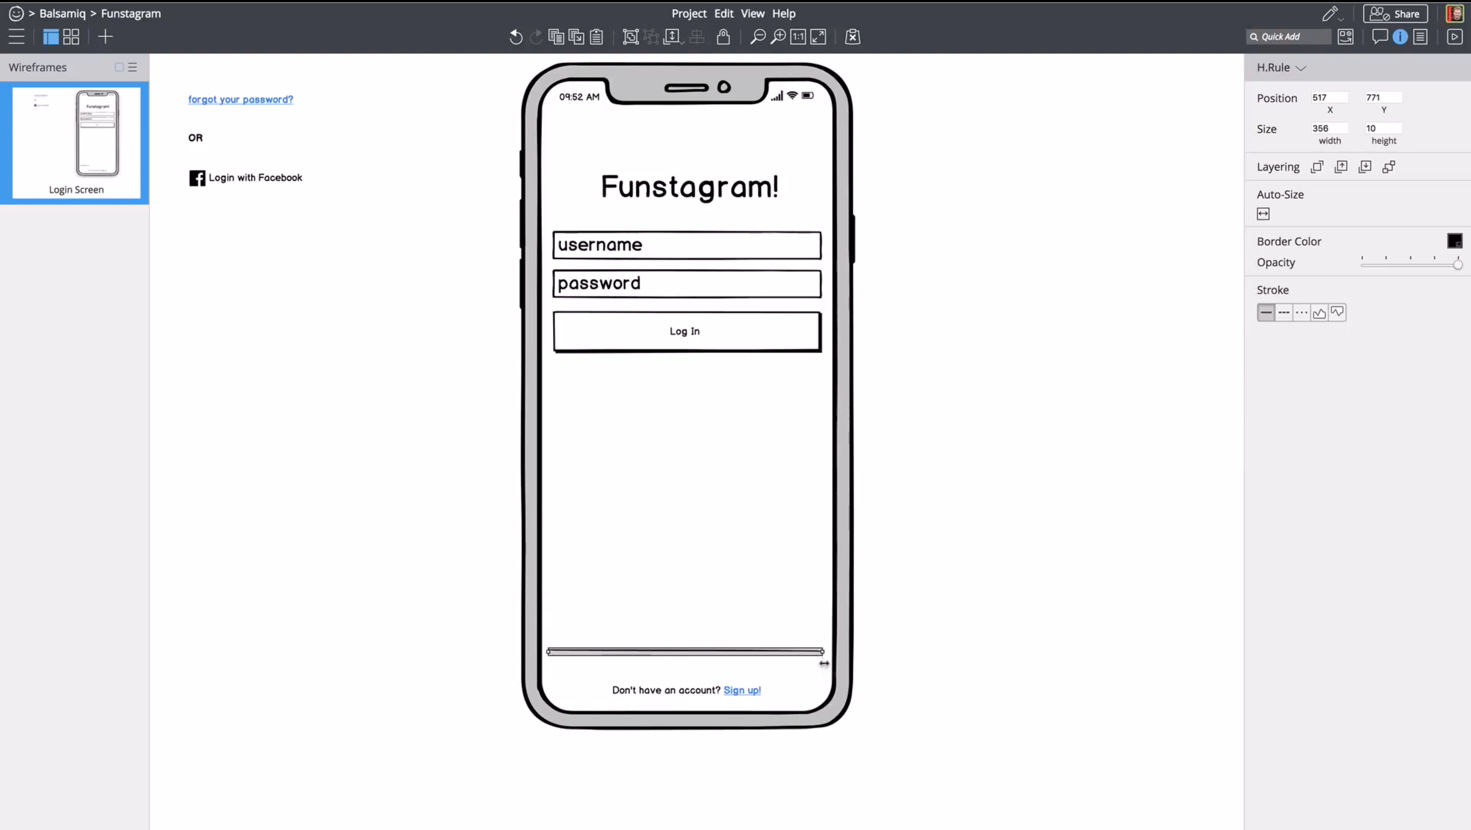
Balsamiq is built for rapid wireframing, and it uses non-pixel-perfect UI elements to reinforce the quick-and-dirtiness of the prototypes you create with it. Author / copyright holder: Balsamiq. Copyright terms and license: Fair Use.
Price
9 USD / month: web app, with 2 projects.
49–199 USD / month: web app, 20 projects and up.
89 USD / user: desktop app.
Features
Create wireframes with a simple drag-and-drop interface, and use UI templates for different devices and operating systems.
“Hand sketched” look is perfect for early stage exploration and testing.
Designed for creating low-fidelity prototypes so you focus on broad brush strokes rather than the details.
Drawbacks
You cannot create high-fidelity prototypes with Balsamiq.
Slightly expensive since it’s just used for wireframing.
OmniGraffle
As we mentioned above, you can also use OmniGraffle to create wireframes.
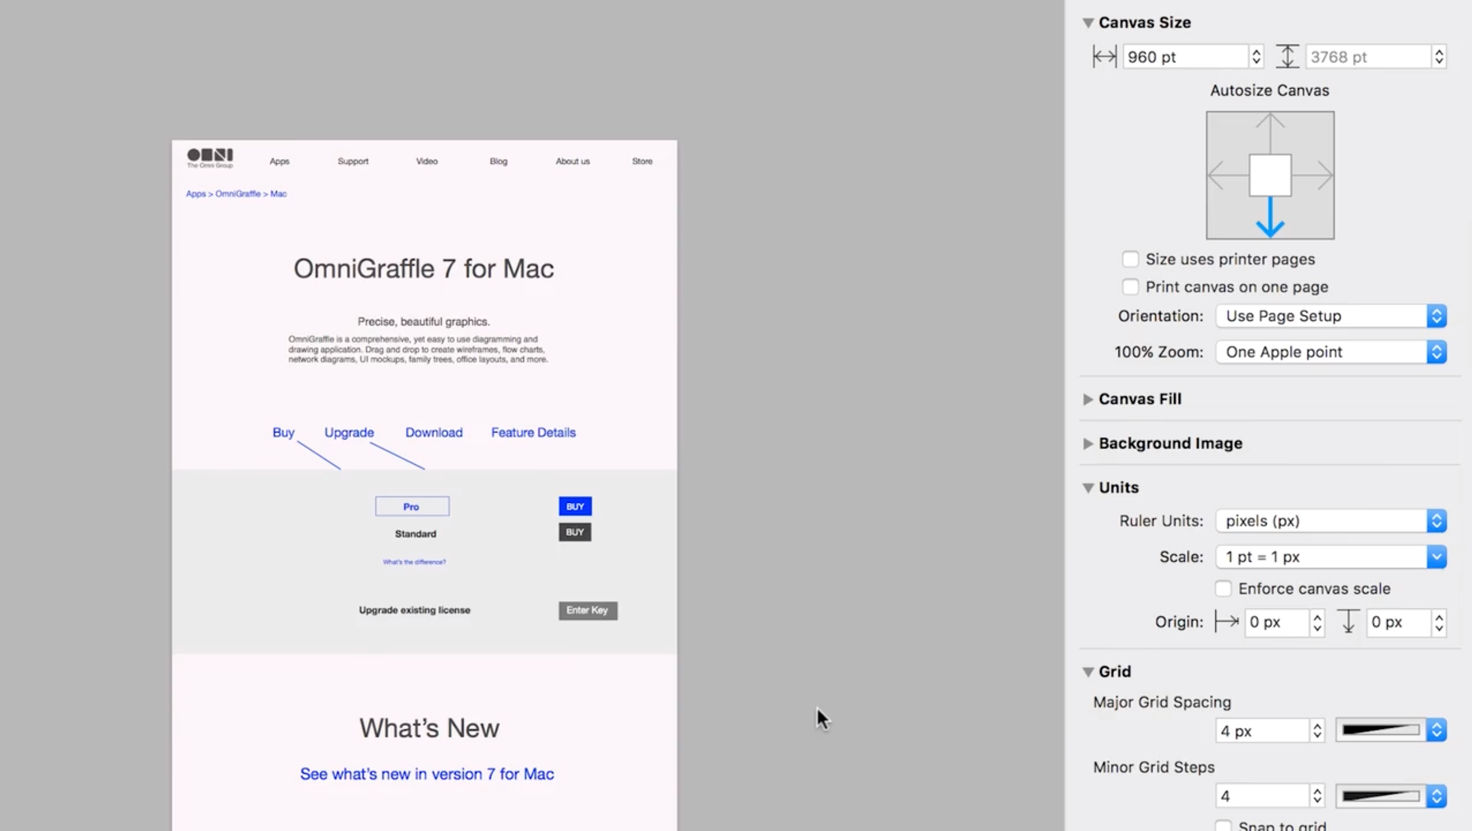
You can use OmniGraffle to create not only flowcharts but also wireframes. Author / copyright holder: OmniGroup. Copyright terms and license: Fair Use.
Price
99.99 USD for Standard app.
199.99 USD for Pro app.
Features
Create wireframes with a simple drag-and-drop interface, and use UI templates for different devices and operating systems.
Fine-tuned control over vector shapes and texts in your wireframes.
You can also use it to create flowcharts.
Drawbacks
Runs on macOS only.
Expensive compared with other wireframing options above.
High-Fidelity / Pixel-Perfect Prototyping Tools
If you’re thinking of UX tools, you’re probably thinking of tools that create pixel-perfect prototypes. These tools get most of the limelight in portfolios, mainly because you can create visually pleasing end results with them. Just remember that your portfolio should also show your design process on top of your results! Don’t focus narrowly on what looks nice and neglect the other essential parts of your design process.
Here are high-fidelity prototyping tools we recommend:
Sketch
Sketch was released in 2010, and it revolutionized the prototyping industry. Most prototyping apps you find now are modelled after Sketch—a strong sign of just how good it is.
Website: https://www.sketchapp.com/
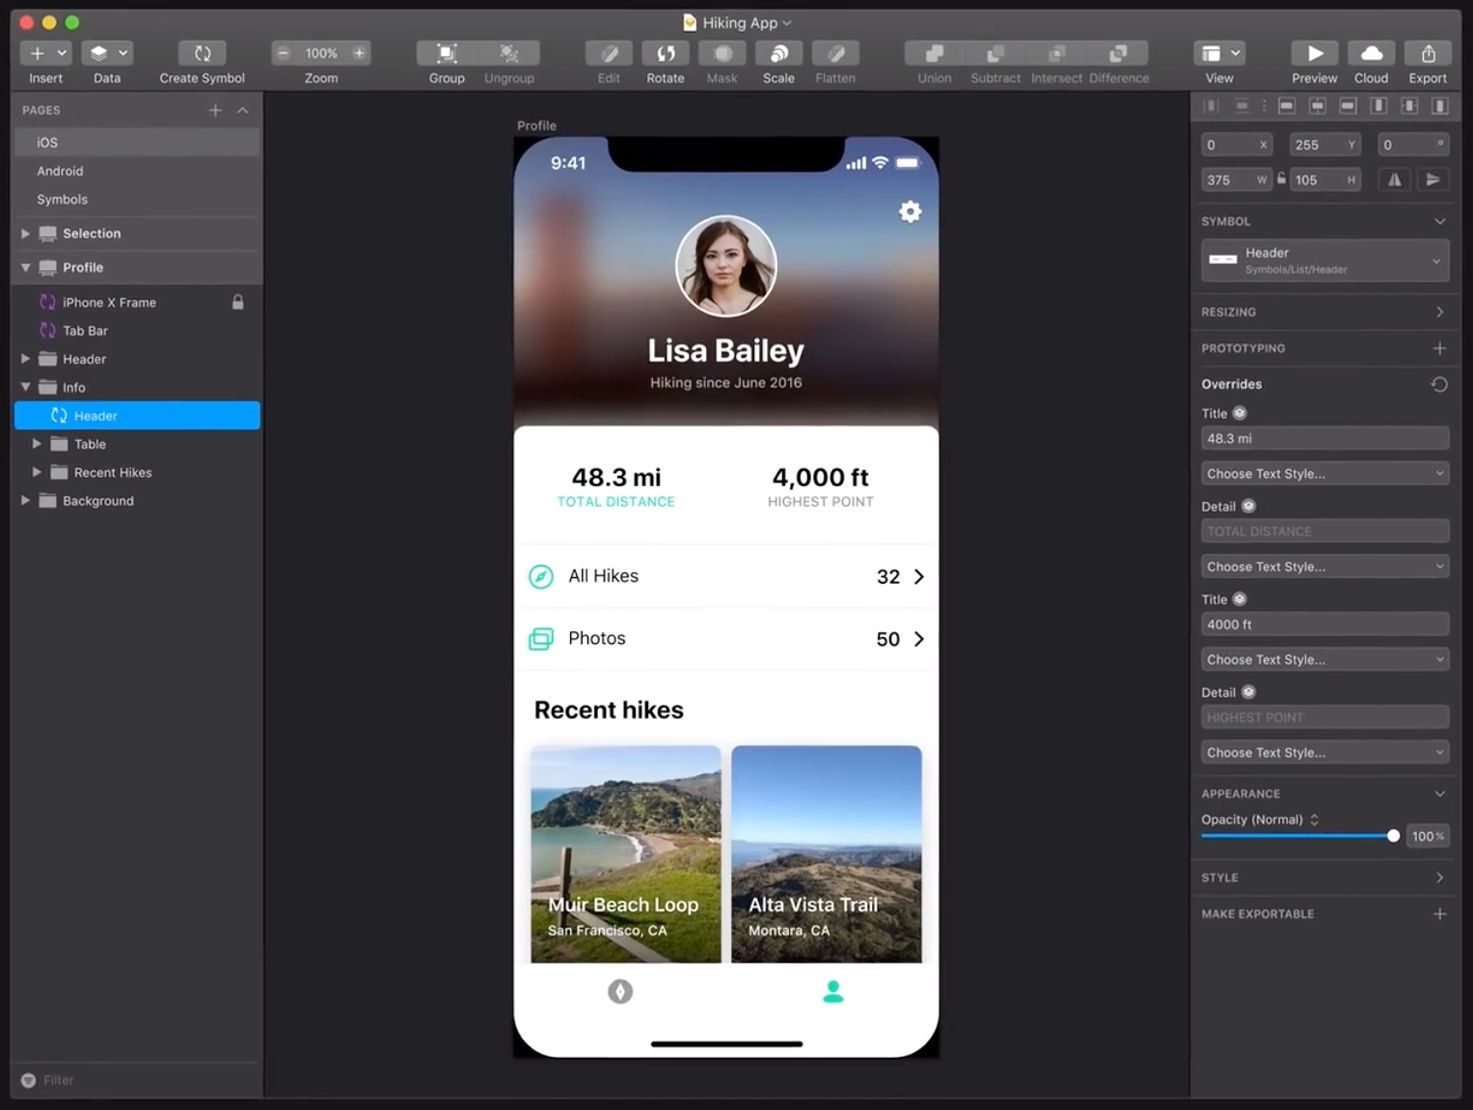
Sketch is one of the most popular tools for creating pixel-perfect prototypes. Author / copyright holder: Sketch. Copyright terms and license: Fair Use.
Price
99 USD / year: desktop app with lifetime access and 1 year of updates.
Features
Built for creating pixel-perfect prototypes.
Intuitive and beautiful UI with advanced controls over vectors, text and layers.
You can create libraries and design systems using the “Symbols” feature.
Add simple interactions and animations to your designs, and preview your mobile designs on your phone for testing.
Huge 3rd-party extension support means you can find a plugin to add features that you need or hand off designs to developers.
Constant updates ensure the app stays relevant: Sketch issues around 20 updates a year.
You can also use it to create low-fidelity prototypes and wireframes.
Drawbacks
Runs on macOS only.
Rather expensive: while fully justified, it might be out of your budget if you’re a freelancer or starting out in UX.
Adobe XD
Adobe XD is the creative suite giant’s response to Sketch, which has dethroned its Photoshop and Illustrator apps as the default prototyping app. Released 6 years after Sketch, it draws much inspiration from it. Unlike Sketch, XD has a free version.
Website: https://www.adobe.com/products/xd.html
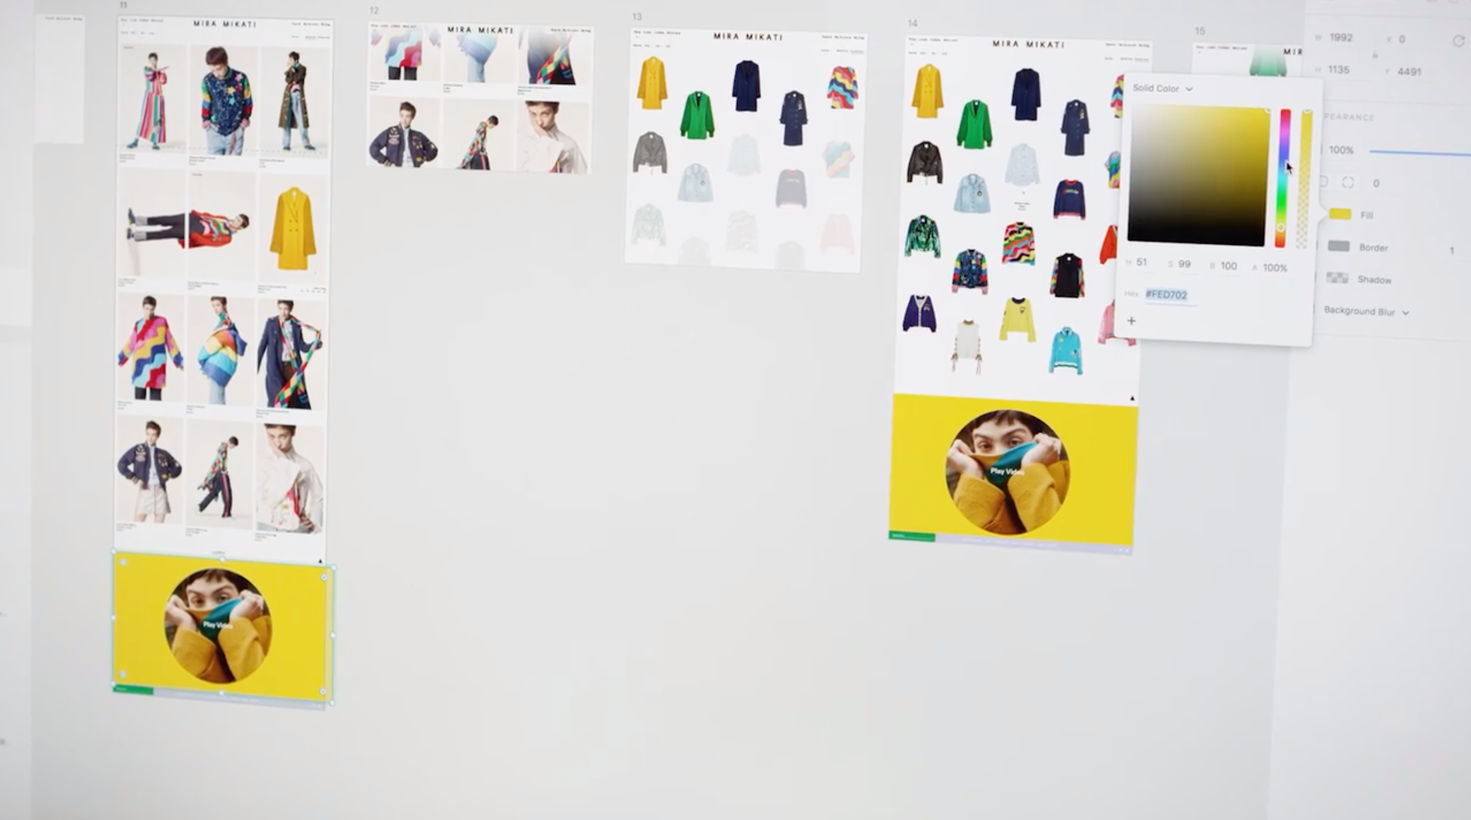
Create pixel-perfect prototypes on Adobe XD. Author / copyright holder: Adobe. Copyright terms and license: Fair Use.
Price
Free: 1 active shared prototype and design specs.
9.99 USD / month: full Adobe XD app with unlimited active shared prototypes and design specs.
52.99 USD / month: full Adobe Creative Cloud suite of apps, including XD, Photoshop and Illustrator.
Features
Almost feature parity with Sketch, with differences too minute and detailed to describe here.
Runs on both Windows and macOS.
Integration with Adobe CC suite of apps (if you pay for the most expensive tier) and portfolio platform Behance.
Free tier is very attractive if you’re just starting out in UX.
Drawbacks
If the free tier is too limited for you, the paid version of Adobe XD is slightly pricier than Sketch—while the full Creative Cloud suite is much more expensive.
Slightly less support for 3rd-party plugins than Sketch.
Figma
A relative newcomer to the high-fidelity prototyping space, Figma is a web-based app with a refreshing take on prototyping.
Website: https://www.figma.com/
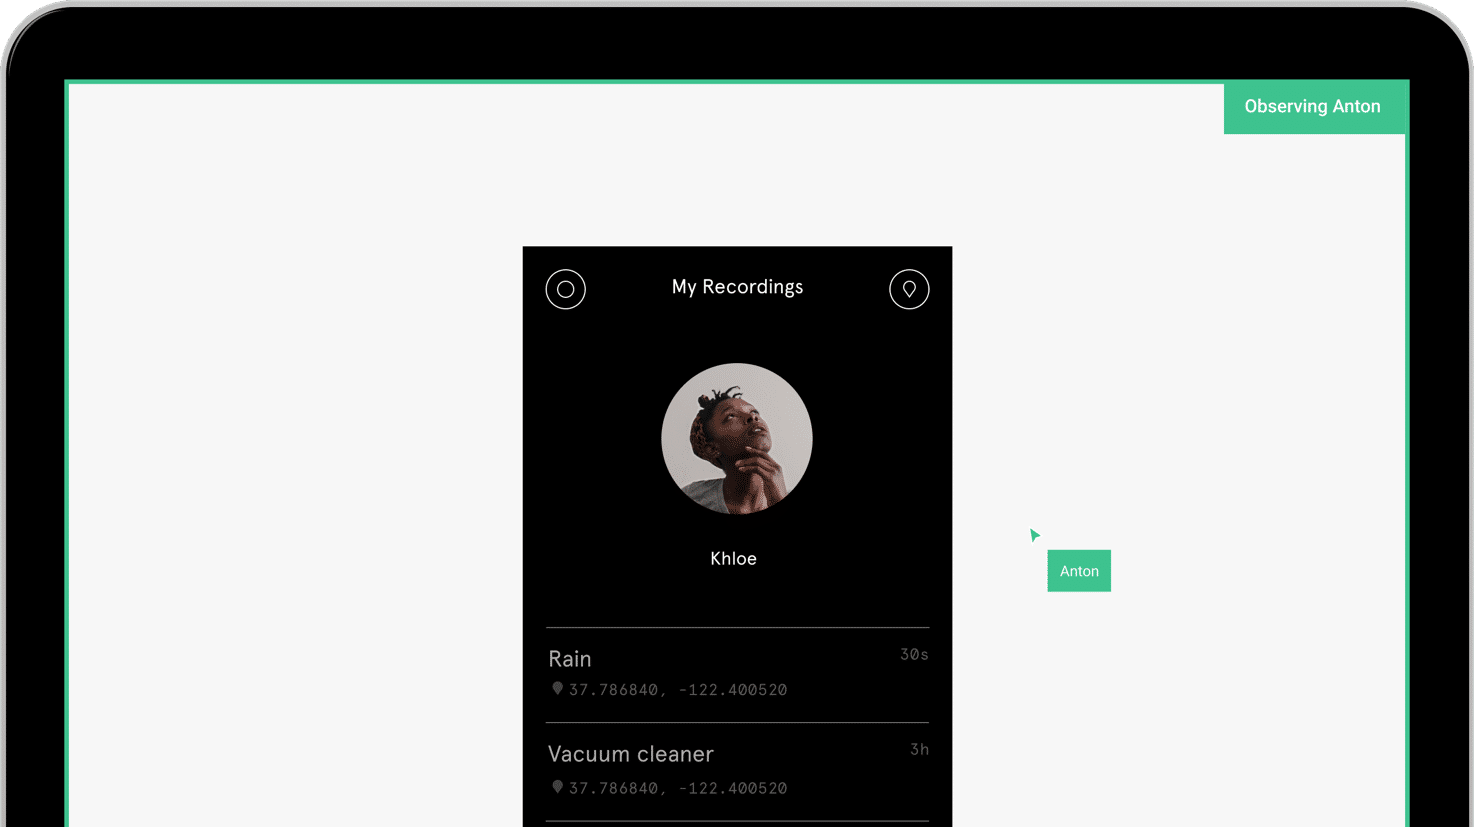
Figma allows you to design collaboratively, live. Author / copyright holder: Figma. Copyright terms and license: Fair Use.
Price
Free: 3 projects, 2 editors and 30-day versioning.
12 USD per editor / month: unlimited projects and versioning, with team component library support.
Features
Almost feature parity with Sketch and XD, with differences too minute and detailed to describe here.
Web-based, so you can use it on any operating system.
Collaborative editing feature allows you to design together with team members.
Supports import of Sketch files.
Drawbacks
No 3rd-party plugin support since it’s a web-based app.
Web-based performance can be slow for large projects with many artboards; you also need internet access to use it.
Collaborative editing can be a double-edged sword: you might be interrupted or disrupted by team members.
How Can You Learn to Use UX Tools?
Now that you know which tools to use, how do you learn to use them?
Well, at least one good thing came out of the explosion of UX tools: most tools are incredibly user-friendly. Due to immense competition, companies that make the tools have to make them easy to master if they want you to use them.
Here are 3 ways you can learn to use UX tools.
Learn from the Tool’s Maker
Most UX tools have extensive, easily digestible and free tutorials that teach you how to use the tool. After all, it’s in the company’s best interests to teach you fast. Learn from these tutorials before you try other methods of learning.
For example, Sketch has helpful resources and mini-courses in its documentation. Through this, you can learn to use every single function of the app. On top of that, Sketch has a Medium publication where you’ll find an endless supply of best practices and tips.
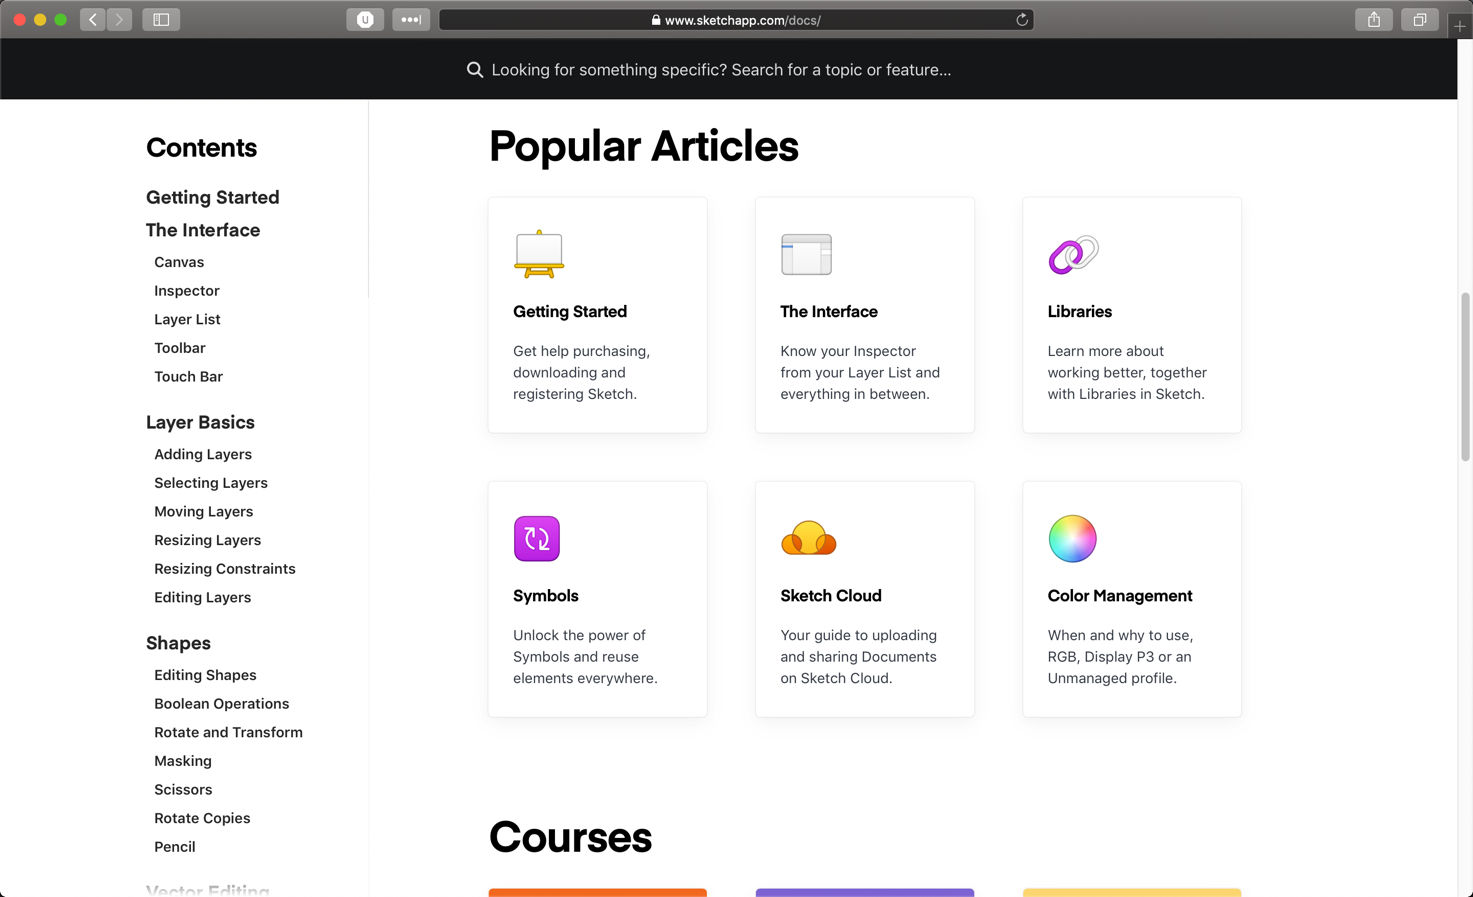
Sketch has a treasure trove of free resources to learn how to use the app. Author / copyright holder: Sketch. Copyright terms and license: Fair Use.
Adobe XD has similar resources, too. It also has mini-courses that you can take to master the prototyping tool. Adobe’s blog also has a section specifically for the XD app, where you can read about best practices and thought pieces.
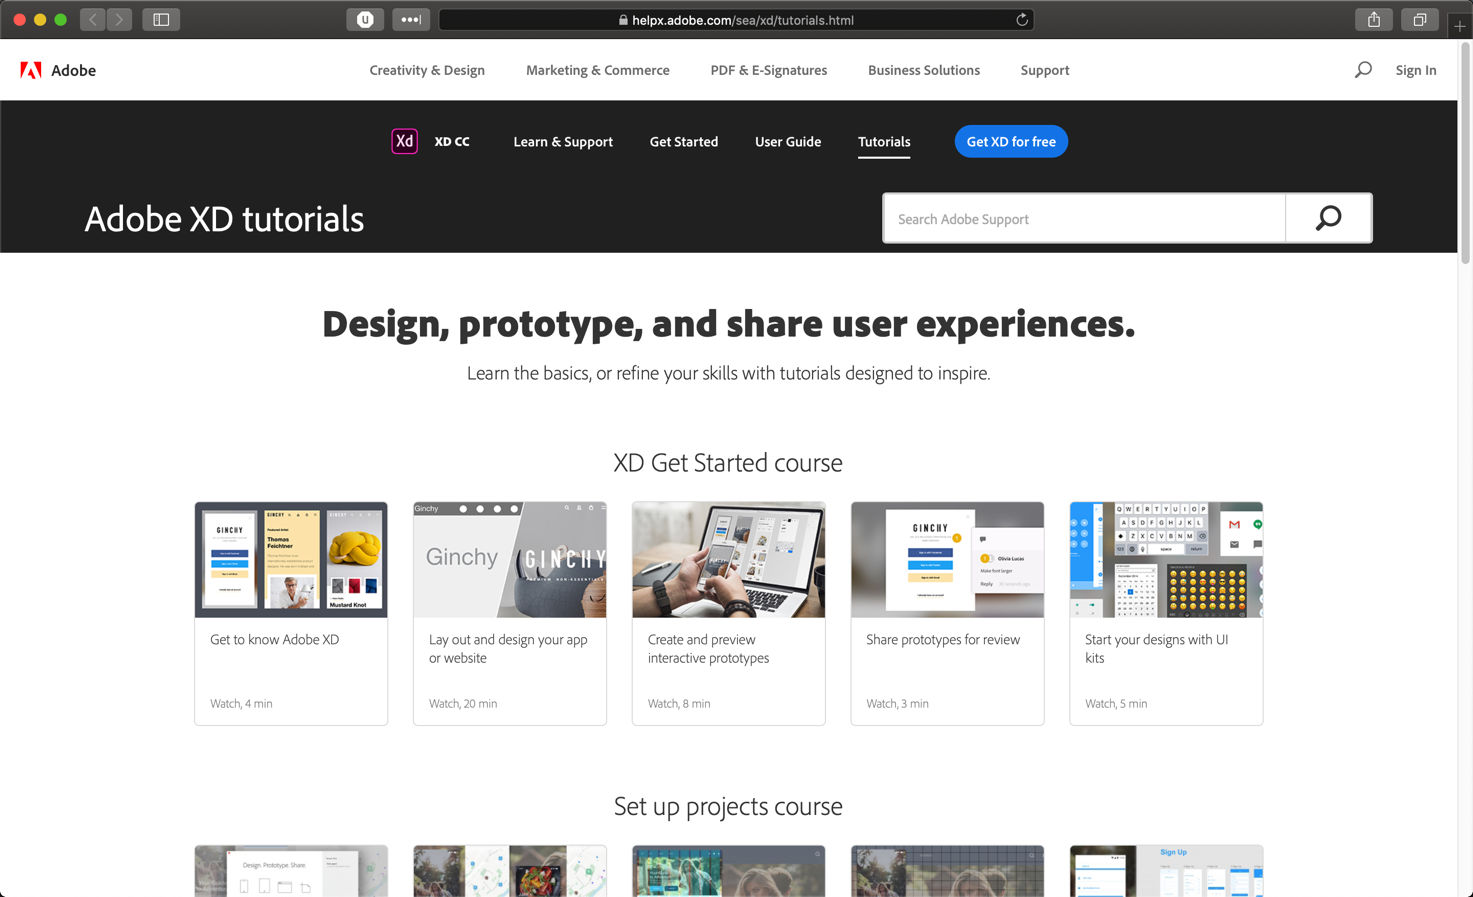
Adobe offers courses to get started and familiarized with the app. Author / copyright holder: Adobe. Copyright terms and license: Fair Use.
So, start with the tool itself. Chances are, the tool you use has extensive tutorials to guide you every step of the way. This means you’ll save money because you won’t have to take extra courses on how to use a tool.
Learn by Doing
The best way to learn a tool is to use it. This sounds obvious, but bears repeating. After you’ve got the basics from tutorials, start using the tool.
You should, of course, do so with intention. For example, if you want to learn a survey tool, you should create a survey to gather feedback on an app, rather than create a dummy survey with random questions. Similarly, when you want to figure out a prototyping tool, you should aim to create a realistic signup page rather than a page with no purpose.
This ensures that you’re using the tool in a realistic setting, so you’ll figure out aspects of the tool that you’ll really use. It also reinforces the key point that you should first think of what you’re doing before thinking about how to do it!
Learn from External Resources
Lastly, external resources can be an option for you. You can find many video tutorials on YouTube on the tools you use.
You can also find paid courses that’ll teach you how to use tools. We don’t offer tool-based courses here at the Interaction Design Foundation, since we focus on timeless design knowledge and skills, but a quick Google will point you to platforms that do.
However, you need to be cautious when taking paid courses on tools. Because tools are ever-changing, you first need to ensure you’re taking a course that covers the right version of the tool. You also need to make sure the course doesn’t merely cover what you can learn from free resources from the tool. As we mentioned earlier, we think paid courses are unnecessary here because most tools have incredible free tutorials made by the companies themselves.
The Take Away
So, there you have it, a full rundown on UX tools!
Before you think about tools, you should always think about what you want to achieve. This way, you’ll not blindly follow trends but rather build solutions that work for your users. Tools are there to help you, but they don’t guarantee great results unless you use them with intention.
As you know, we don’t earn a penny from our recommendations and we try hard to be as objective as humanly possible. Here is our unbiased recommended list of UX tools based on the tasks you want to achieve:
Questionnaire tools
Google Forms (free)
TypeForm (free–$70 / month)
SurveyMonkey (free–$99 / month)
Flowcharting tools
LucidChart (free–$20 / month)
Microsoft Visio ($5–15 / month for web app or $250/480 for desktop app)
OmniGraffle ($99.99/199.99)
Low-fidelity prototyping / wireframing tools
Marvel (free–$84 / month)
Balsamiq ($9–199 / month for web app or $89 / user for desktop app)
OmniGraffle ($99.99/199.99)
High-fidelity prototyping tools
Sketch ($99 / year)
Adobe XD (free–$52.99 / month)
Figma (free–$12 per editor / month)
When it comes to learning these tools, always start with free tutorials provided by the toolmakers. You can also learn by doing—after all, practice makes perfect. Lastly, you’ll be able to find external courses and resources to learn tools. However, we don’t think courses are necessary after you’ve gone through the tutorials and tried using the tools.
References and Where to Learn More
Here are some useful resources on learning Sketch, created by Sketch:
Sketch’s Medium publication offers some useful tips.
This (unofficial) Medium publication also covers best practices and latest tips.
Lastly, great resources on Adobe XD by Adobe:
Learning and support for Adobe XD.
Adobe’s blog has a sub-category focused on XD resources and tips.
Hero image: Author / copyright holder: Teo Yu Siang and the Interaction Design Foundation. Copyright terms and license: CC BY-NC-SA 3.0
